

The Winter Alchemist: The Ultimate Guide to Planting Autumn Garlic
There is a quiet, ethereal shift on the allotment at the tail end of October. The raucous abundance of the summer harvest is gently winding down;
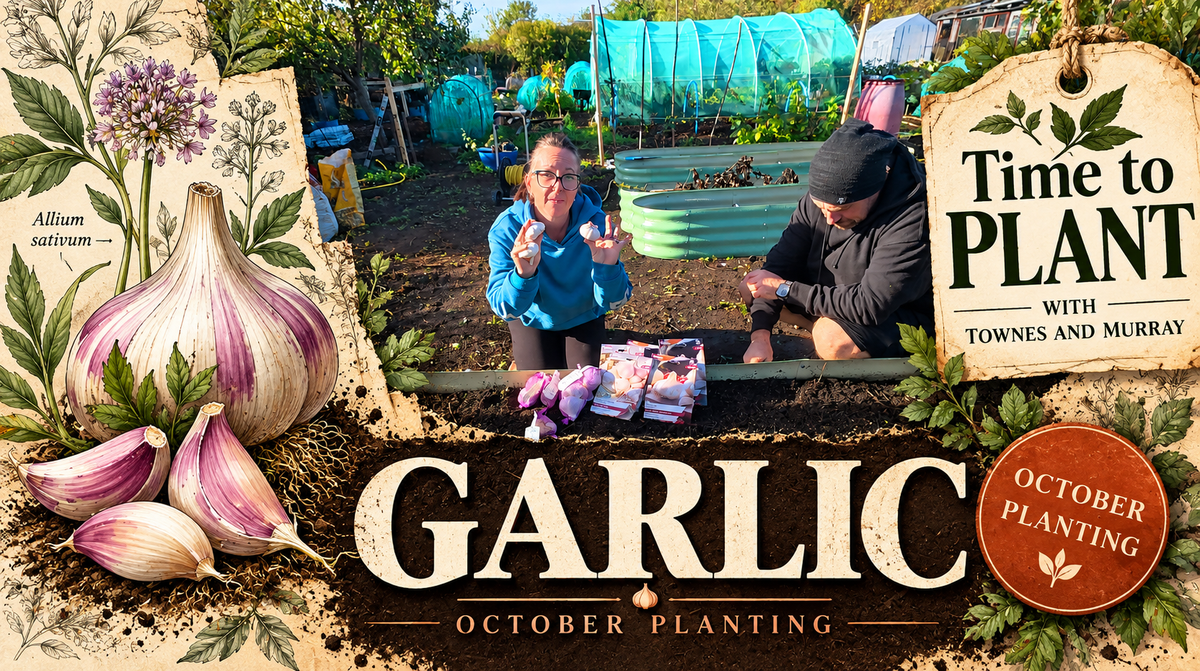
October 2026
A quiet, ethereal shift happens on the allotment at the tail end of October. The raucous abundance of the summer harvest is gently winding down, the air smells crisply of fallen leaves and woodsmoke from the Orangery, and the soil is preparing for its long winter sleep. To a non-gardener, it looks like the end of the story. But to an allotment enthusiast, this is exactly when the next chapter begins.
It is time to plant the winter alchemist of the plot: Garlic.
Tucking garlic cloves into the dark earth before the freezing frosts arrive is one of the most magical, hopeful acts in the cottage garden calendar. They sit quietly beneath the frozen soil for months, using the bitter winter cold to work a secret chemistry that splits a single clove into a magnificent, multi-clobed bulb by next summer.
Welcome to the first entry in our brand-new "Time to Plant" blog series, a companion to our channel updates, designed to guide your hands through the soil month by month. Today, we are unlocking the aromatic secrets of growing your own spectacular garlic on Plots 121 and 122
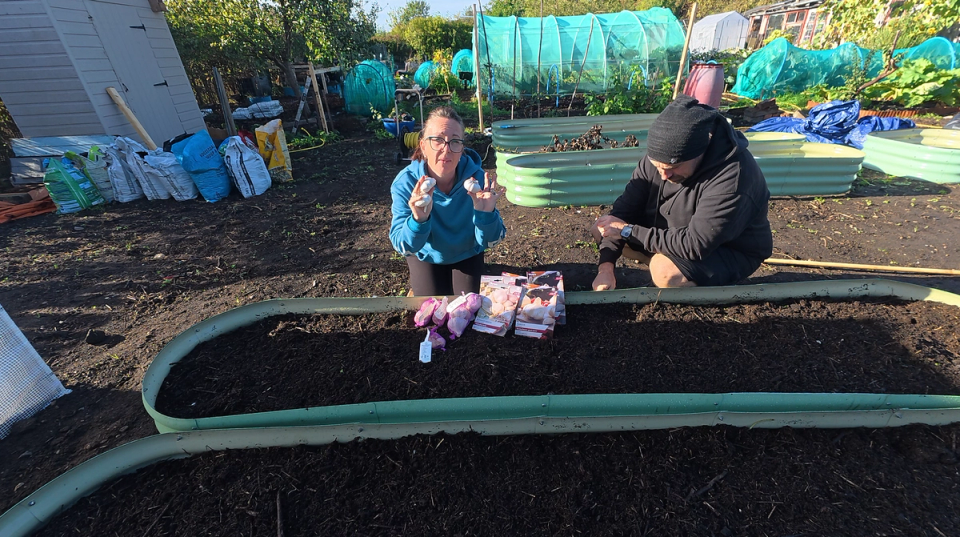
Hardneck vs. Softneck: Choosing Your Variety
Before you press a single clove into the soil, you have to choose your alliance. Garlic is broadly split into two distinct types, each with its own rustic charm, pros, and cons.
THE GARLIC DUEL: HARDNECK VS. SOFTNECK
- Hardneck: Bold, winter-hardy, produces a gourmet flower stalk (scape).
- Softneck: Pliable stems for traditional braiding, incredible storage life.
Hardneck Varieties (Allium sativum var. ophioscorodon)
Hardneck varieties are the closest relatives to wild garlic. They produce a thick, rigid central woody stem and grow a beautiful, looping flower stalk in late spring known as a scape.
- The Pros: They possess an incredible, complex, punchy flavour and are exceptionally hardy against severe British winter frosts. The bonus? Snapping off the delicious gourmet scapes in June gives you an early, garlicky harvest perfect for stir-fries or pesto.
- The Cons: They produce fewer, larger cloves per bulb and have a shorter storage life, typically lasting only until mid-winter.
- Top Varieties to Try: Kingsland Wight, Caulk Wight, or the fiery Purple Moldovan.
Softneck Varieties (Allium sativum var. sativum)
Softneck garlic is the traditional variety you see draped across French market stalls. It doesn't form a rigid woody stem, meaning the tops remain soft and pliable when cured.
- The Pros: They produce an abundance of cloves per bulb, dynamic yields, and boast a fantastic storage life, often keeping perfectly fresh in the pantry for up to nine months. Because the necks are soft, they are the only choice if you dream of braiding your harvest into beautiful rustic plaits to hang in your kitchen.
- The Cons: The flavour is generally milder and less complex than hardnecks, and they do not produce edible scapes.
- Top Varieties to Try: Solent Wight, Picardy Wight, or Early Purple Wight.
Sourcing Your Seed: Where to Buy and What to Avoid
Where you get your garlic from determines the fate of your bed. As custodians of an 800-square-yard kingdom, we keep meticulous logs in our Master Planner, and our records show that seed quality is paramount.
SOURCE INSPECTION REPORT
- UK Seed Specialists: Top tier. Certified virus-free and climate-tested.
- Garden Centres: Reliable, classic cottage varieties ready for the soil.
- Supermarket Bulbs: High risk. Often chemically treated or wrong for UK weather.
- The Specialist Seed Suppliers (UK-based): If you want guaranteed success, buy from dedicated UK growers like The Garlic Farm based on the Isle of Wight. Their bulbs are certified virus-free and specifically bred to thrive in our erratic British climate.
- The Traditional Garden Centre: A lovely, reliable middle ground. Picking up loose bulbs from an independent country garden centre allows you to physically inspect the heads for firmness before buying.
- The Supermarket Pitfall: It is incredibly tempting to grab a cheap organic bulb from the grocery aisle, split it, and plant it. Please avoid this. Supermarket garlic is often imported from distant climates like China or Spain and won't adapt well to a damp, cold UK winter. Worse, commercial culinary garlic is frequently treated with anti-sprouting growth inhibitors and can carry soil-borne viruses that can contaminate your allotment beds for years.
How to Plant: The Best Practice Method
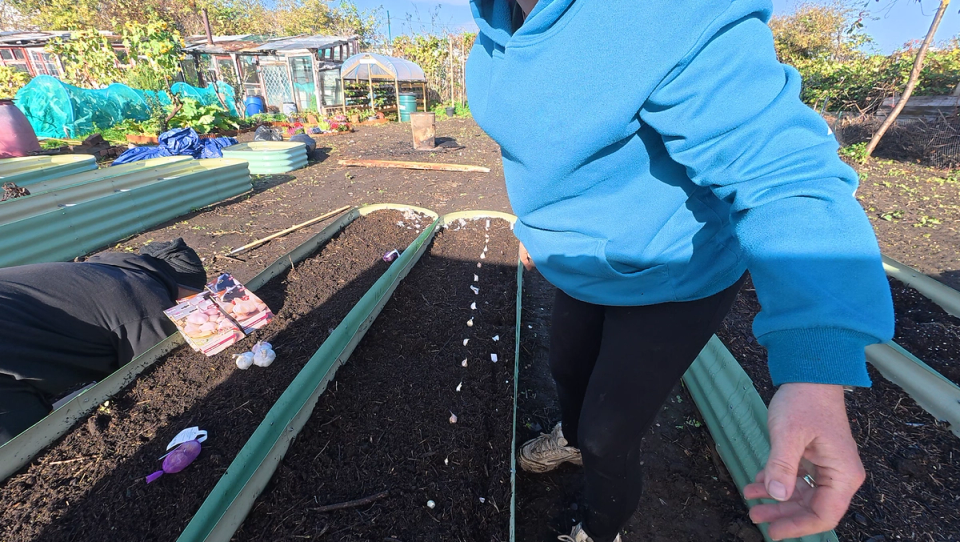
Garlic loves a sunny spot with rich, free-draining soil. Because they will sit in the ground for a long time, we use our planner to log their position carefully in our Year 4 Allium Bed, ensuring they follow our strict crop rotation rules.
THE BED PREPARATION STEP
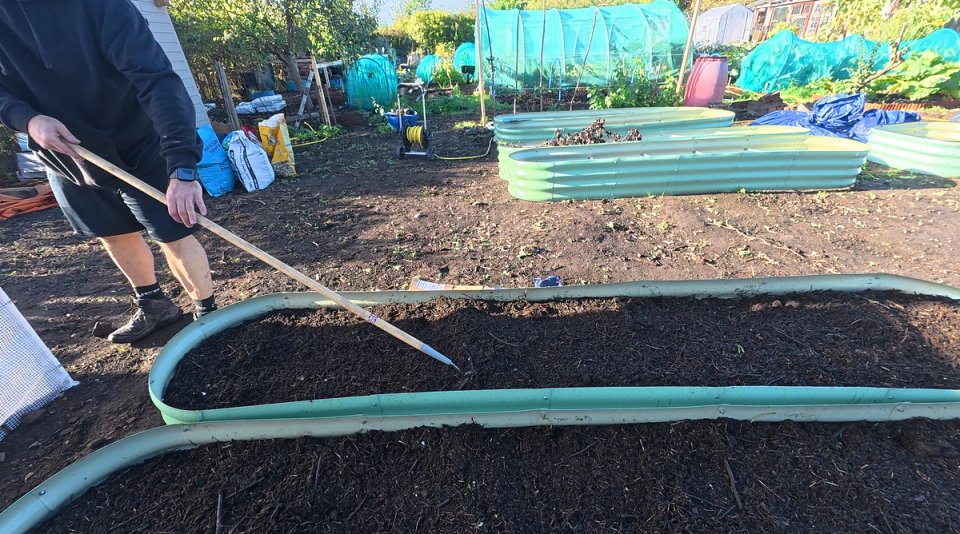
Before planting, clear any surface weeds and fork in a generous layer
of our dark, well-rotted home-grown compost.
Garlic is a hungry crop, but it absolutely detests sitting in waterlogged
clay over winter, which rots the roots. Free-draining fertility is key.
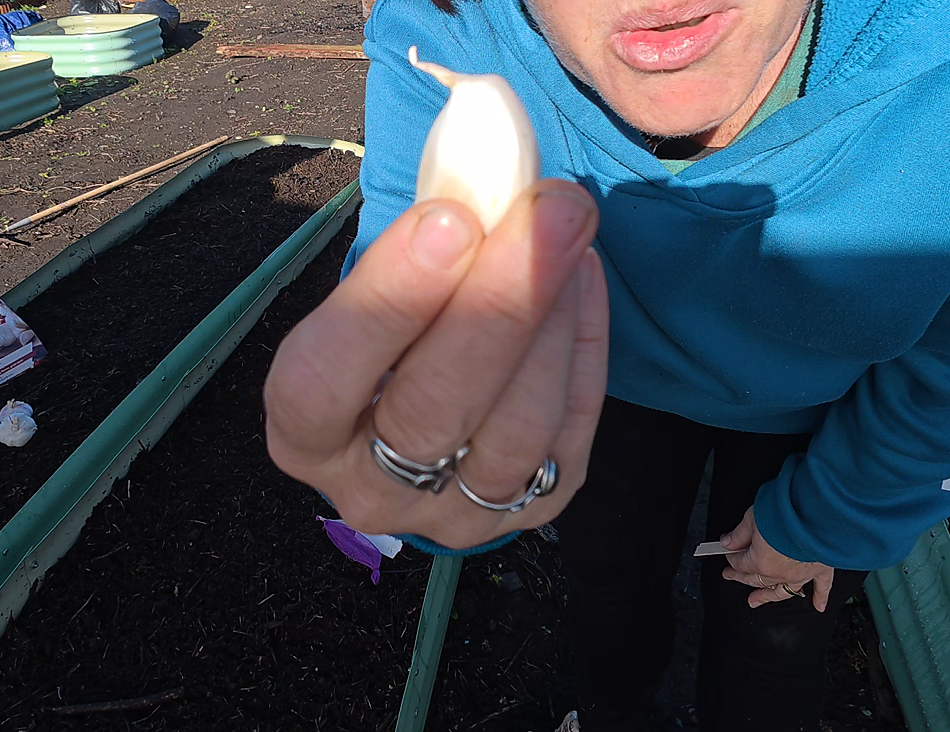
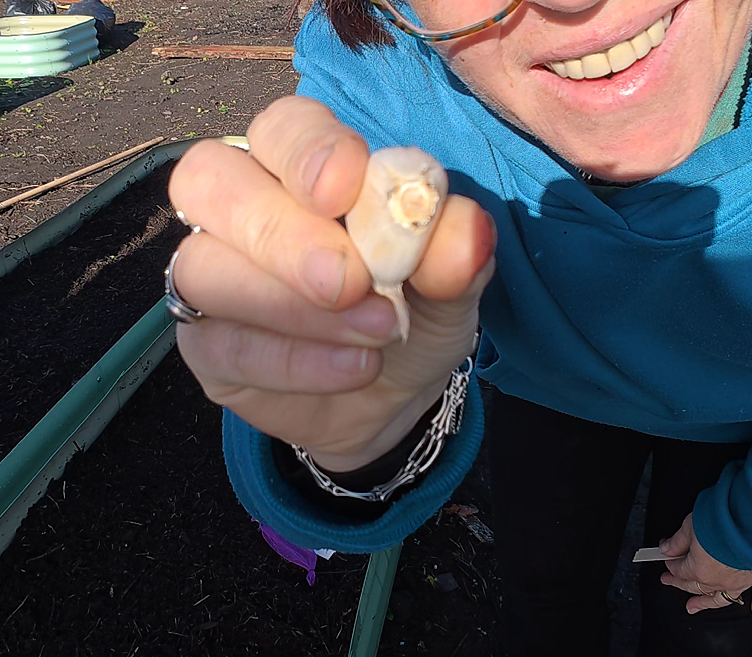
The Separation: Keep your garlic heads completely intact until the very morning of planting. Carefully split the bulb into individual cloves, selecting only the biggest, plumpest outer cloves. Leave the small, papery inner cloves for the kitchen skillet; bigger cloves produce bigger bulbs next summer!
- The Orientation: Always plant the clove pointy-end up, flat-end (the root plate) down.
- The Depth and Distance: Push each clove gently into the loose soil so the tip sits roughly 2 inches (5cm) beneath the surface. Space your cloves 10cm apart, with 8 to 10 inches (20- 25 cm) between rows to give you plenty of room to hoe out winter weeds while maximising your bed workspace efficiently.
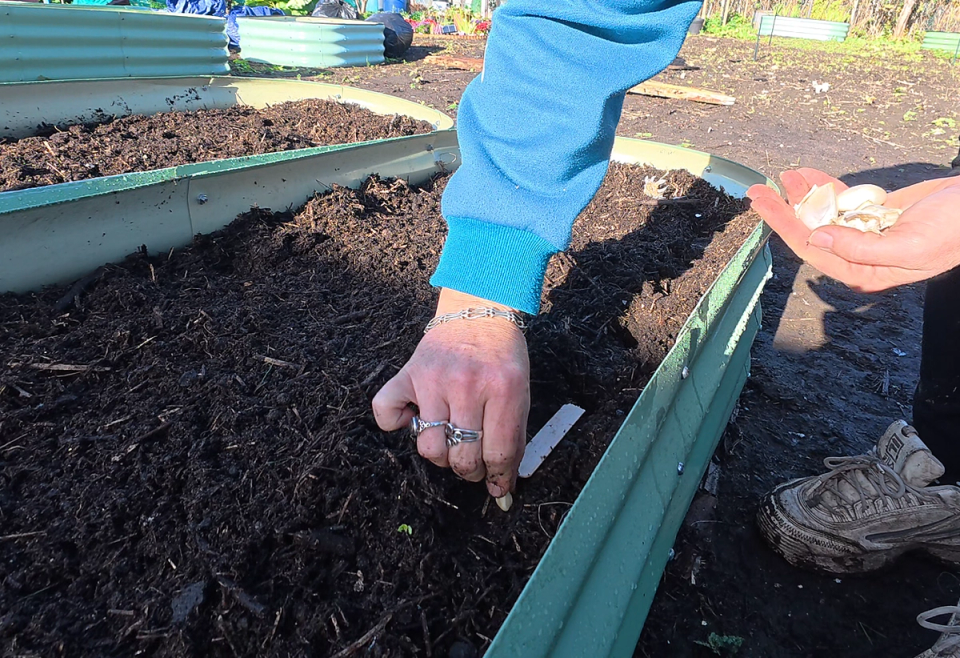
- The Blanket: Smooth the soil over the top, give them a light watering if the autumn earth is dry, and let nature take over.
The Calendar: When to Plant and When to Harvest
Garlic needs a sustained period of cold temperatures (below 10°C) for at least one to two months to trigger the process of "clove differentiation."
- When to Plant: The golden window for autumn planting is right now, between October and late November. Getting them in before the heavy frosts allows the clove to establish a strong, hidden root system before the top growth goes dormant in the freezing dark of January.
- When to Harvest: Your patience will be rewarded in June or July. You will know they are ready when the lower leaves begin to turn brittle, yellow, and dry out. Hardnecks are usually lifted slightly earlier than softnecks.
Care and Conspiracies: What to Look Out For
Garlic is an exceptionally low-maintenance crop, but you cannot completely forget about it while you are tucked away drinking a warm cuppa in the Homestead.
- The Feathered Saboteurs: Birds, especially mischievous pigeons and magpies, love to look at a newly planted garlic bed. When the green shoots first emerge, birds often mistake them for worms, pulling the whole clove right out of the dirt. Check your beds weekly; if you find a clove dislodged, simply push it back down. If they won't leave them alone, drape a temporary bit of mesh over the row.
- The Weeding Regime: Because garlic leaves are narrow, they throw very little shade. Weeds will happily crowd them out if given the chance. Keep the rows strictly clean over spring to prevent competition for nutrients.
- The Rust Threat: In late spring, keep an eye out for Allium rust, a fungal disease that presents as bright orange, powdery spots on the green leaves. It thrives in damp, humid conditions. If you spot it, simply prune off the affected leaves and destroy them to prevent it from spreading to your onions.
The Final Transformation: How to Cure and Store Your Bounty
Once midsummer arrives and you have carefully lifted your gorgeous bulbs from the soil using a garden fork, the journey isn't quite over. Freshly dug garlic is full of moisture. If you throw it straight into a dark cupboard now, it will quickly rot and mould. To preserve your harvest for the winter months, you must subject it to the art of curing.
THE CURING RITUAL
- The Initial Clean: Gently brush away loose clumps of soil from the roots.
Do NOT wash the bulbs with water; moisture is the enemy right now! - Leave Everything Attached: Keep the roots and the long green leaves completely intact. As the bulb dries, it draws the final remaining energy from the stalks.
- The Drying Sanctuary: Lay the plants out in a single layer or hang them in
small bunches in a warm, dry, shaded place with fantastic airflow.
Our old shack greenhouse or the sheltered Homestead basecamp are perfect drying stations, provided they are kept out of direct, scorching sunlight.
Leave your garlic to cure for two to three weeks. You will know the process is complete when the outer wrappers feel completely dry and papery, the roots feel brittle like straw, and the central stems have lost all their green moisture.
THE PANTRY STORAGE CHECKLIST
- For Hardnecks: Use a pair of sharp snips to trim the roots down to half an inch, and cut the woody stem about two inches above the bulb. Store them in open mesh sacks or wooden crates.
- For Softnecks: This is your moment! Leave the pliable stems attached and plait them into beautiful, traditional cottage-style braids to hang in your kitchen.
- The Golden Rule: Store your cured garlic in a cool, dry, dark place (ideally
between 10°C and 15°C). Never store garlic in the fridge; the cold humidity will trick the bulb into thinking it's winter again, causing it to sprout bitter green shoots!